

| 1/7 | 002 Return to MSR&LHA Home page |


|

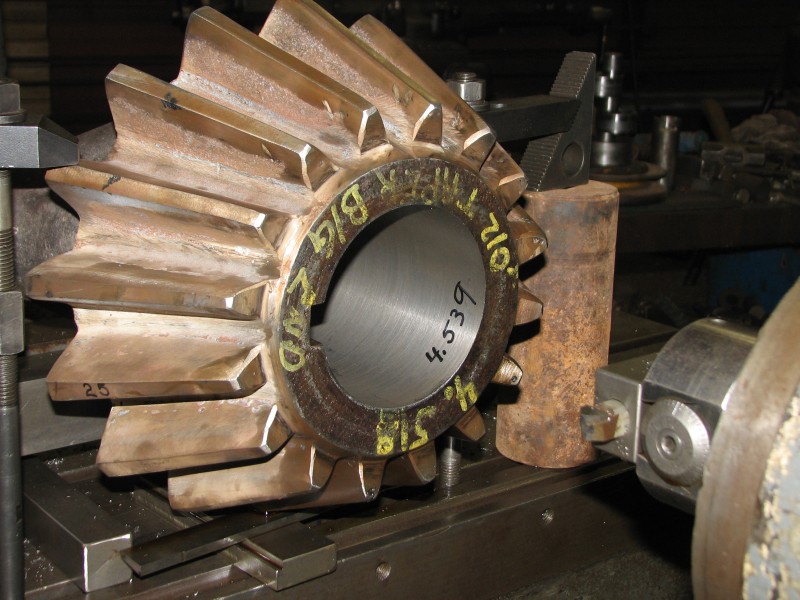
This photo shows finished bore, about .031 inch bigger than the close end of the
bore was originally. From the writing on the hub end, the close end was .012
inch bigger than the far end, but this leaves out the part that the middle
portion was smaller than either end. In other words, the bore was shaped very
much like the contour of power-plant cooling towers. While re=boring the gear, I
tried to use HS tool steel, but found that inclusions cast into the gear trashed
the tip of the cutter, about half way through the hole, causing the bore to
taper. If the original machinist simply reversed the feed of his machine and
back-bored, without sharpening his cutter, may explain the small-in-the-middle
condition that was found in this gear. After attempting to spot-grind out the
hard chunks and stay with the tool steel cutter (which did not work) the shown
carbide cutter was installed, as per Christy's suggestion, and the boring was
completed with less than .001 taper.
Photo by Rick Brigger |